

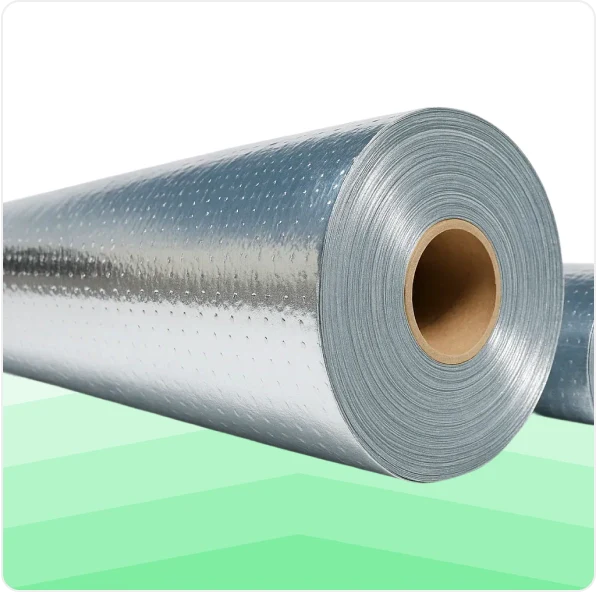


This guide covers six ways to install SmartSHIELD reflective insulation in a ceiling, from a single layer over studs to double-layer setups with drywall.
Equipment Checklist
Materials:
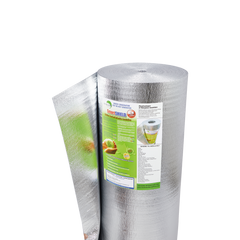
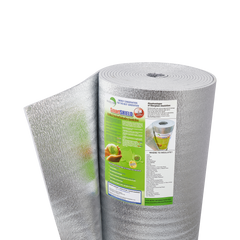
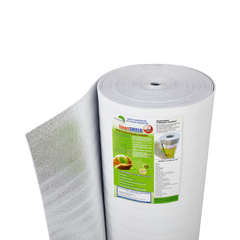
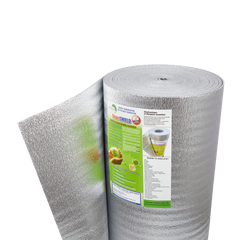
- SmartSHIELD 10MM, SmartSHIELD 5MM, SmartSHIELD 1/4 Inch, SmartSHIELD 20MM or the Single Bubble Reflective Insulation, Double Bubble Reflective Insulation. Choose based on your R-value target and available space.
- SmartTAPE reflective foil tape: For sealing seams.
- Double-sided tape: For temporary hold during install.
Tools:
- Utility knife
- Staple gun or screw gun
- Measuring tape
Before You Start
- Confirm your stud or joist spacing so you can pick the right roll width.
- Check for wiring, fixtures, or obstructions in the ceiling cavity.
- Plan your air gap. Reflective insulation needs at least a 1 inch air space to perform.
Installation Methods
Method 1: Single Layer Over Studs (New Install)

For new builds before the studs are covered.
- Staple or screw SmartSHIELD over the studs before the ceiling surface goes on.
- Let the insulation sag slightly to create a 1inch or more air gap.
- Seal seams with SmartTAPE.
Method 2: Single Layer Under Studs

- Staple or screw SmartSHIELD to the underside of the studs, running it perpendicular to the stud direction.
- Seal seams with SmartTAPE.
Method 3: Two Layers, Over and Under Studs

- Staple or screw the first layer over the studs before the ceiling surface goes on.
- Let it sag to create a 1 inch or more air gap.
- Seal seams with SmartTAPE.
- Screw a second layer to the underside of the studs.
Method 4: Two Layers, One Between and One Under Studs

- Staple or screw one layer of SmartSHIELD between the studs, sized to your stud spacing.
- Staple or screw a larger roll (SmartSHIELD 10MM or SmartSHIELD 20MM) under the studs.
- Seal all seams with SmartTAPE.
Method 5: Single Layer Under Studs Plus Drywall

- Staple or screw SmartSHIELD to the underside of the studs.
- Push the insulation up into the cavity to create a 1 inch or more air gap.
- Attach drywall to the underside of the studs. The SmartSHIELD will compress slightly between the drywall and stud, which is fine.
- Seal seams with SmartTAPE before drywalling.
Method 6: Two Layers with Furring Strip and Drywall

The most complete setup for a finished ceiling.
- Staple or screw one layer of SmartSHIELD between the studs.
- Staple or screw a larger roll (SmartSHIELD 10MM or SmartSHIELD 20MM) under the studs.
- Attach a 1 inch furring strip (lathe board) through the underside of the insulation.
- Attach drywall to the furring strips.
- Seal all seams with SmartTAPE.
Quick Tips
- Always leave an air gap of at least 1 to 2 inches. Reflective insulation needs it to perform.
- Seal every seam with SmartTAPE.
- Match your roll width to your stud spacing for between-stud methods.
- Adding drywall is no problem. SmartSHIELD compresses cleanly between the drywall and stud.
Benefits of Ceiling Insulation
- Energy Efficiency: Reduces heat loss in winter and heat gain in summer, leading to lower energy bills.
- Comfort: Maintains a consistent indoor temperature, enhancing overall comfort.
- Soundproofing: Reduces noise transmission between floors.
- Moisture Control: Prevents condensation and related issues like mold and mildew.
Proper ceiling insulation is crucial for maintaining energy efficiency, reducing heating and cooling costs, and ensuring a comfortable living environment. By choosing the right insulation material and following correct installation and maintenance practices, you can enhance your home's overall energy performance and comfort. Regular inspections and timely repairs will help keep your ceiling insulation in optimal condition for years to come.
Need Help Choosing?
Browse the SmartSHIELD collection or call us at (786) 202-0704 for sizing and contractor pricing.