

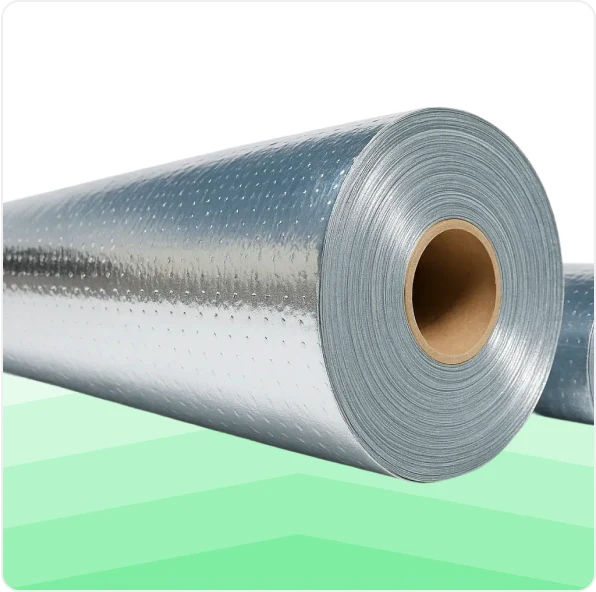


A steel shipping container heats up fast in the sun, turns frigid in winter, and sweats with condensation whenever warm air meets its cold walls. That moisture rusts the shell and ruins whatever you're storing inside. Reflective insulation solves all three problems at once by reflecting radiant heat, breaking the thermal bridge, and acting as a vapor barrier. This guide shows you how to install it directly to the metal, no stud walls required.
Product to use
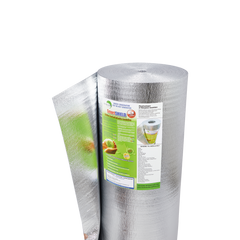
- The most popular insulation to use is the SmartSHIELD 10MM.
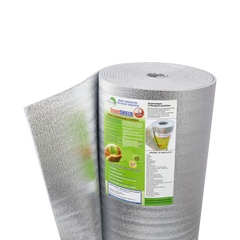
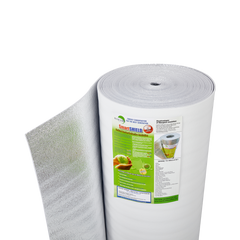
- The following are excellent 5MM choices: SmartSHIELD 5mm Reflective Insulation and SmartSHIELD 5mm White Insulation.
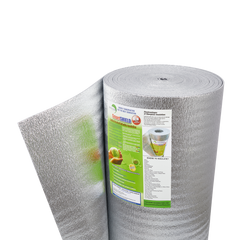
- Other options include: Single SmartBUBBLE Insulation or Double SmartBUBBLE Insulation.
Why Insulate a Shipping Container
- Controls condensation. As a vapor barrier, it stops warm air from sweating against the cold steel, which protects the shell and your stored items from rust and moisture damage.
- Reduces heat transfer. It reflects radiant heat off the metal, keeping the interior cooler in summer and holding warmth in winter.
- Maximizes usable space. A thin reflective layer preserves interior room that thick batt insulation would eat up.
- Easy to handle. It's lightweight, safe to touch, and simple to cut and install with no fibers, dust, or itch.
Tools and Materials
- SmartSHIELD (or SmartBUBBLE)
- Perforated insulation pins with caps
- Metal-bonding adhesive or sealant
- Reflective foil tape
- Utility knife
- Degreaser
- Foam board (optional, for spacers)
- Heat gun (optional, only for heat-welding SmartSHIELD 10mm seams)
Before You Start
- This method is for metal you can't screw through. If you're framing the container out with wood first, follow a standard retrofit method and staple the material to the framing instead.
- Work in a well-ventilated container and give the adhesive its full cure time before loading the pins.
- Plan your pin layout at one pin per 2 square feet before you start gluing.
Step-by-Step Shipping Container Insulation Installation

Step 1: Clean the metal.
Wipe down all metal surfaces with a degreaser so the adhesive can grip. Let it dry fully.
Step 2: Glue the pins to the wall.
Put a glob of metal-bonding adhesive on the base of each perforated pin, then press it firmly onto the sheeting. It's fine if adhesive squeezes through the holes, that's what locks the pin in place.
Space the pins about one per 2 square feet. Allow a full 24-hour cure time, longer in cold or humid conditions.

Step 3 (optional): Add foam spacers for an air gap.
While the pins cure, cut 2 in. x 2 in. squares of 3/4 in. or 1 in. foam board and slide one down each pin. This creates the air gap that boosts reflective performance.
If you'd rather skip the spacers, just don't press the insulation flush to the metal later. Leave about a 1-inch gap instead.

Step 4: Mount the insulation.
Push SmartSHIELD onto each pin so it passes through, then press a cap down over the pin to lock the insulation in place.

Step 5: Seal the seams.
Seal every seam with SmartTAPE to keep the vapor barrier continuous. This is what stops condensation on the steel.
If you're using SmartSHIELD 10mm, you can heat-weld the seams instead for a stronger vapor seal: start the heat gun on its lowest setting and raise it until the foam edge turns pliable.
Step 6: Trim and finish.
Snip off the excess pin length once the insulation is secured. Cover the cut tips with SmartTAPE so no one catches a sharp edge.
Quick Tips
- The air gap is what makes a radiant barrier work, so use the foam spacers or keep the insulation about an inch off the metal.
- Don't rush the cure time. Pins that haven't fully bonded will pull loose under the weight of the insulation.
- Insulate the ceiling as well as the walls. That's where a lot of summer heat comes through.
Frequently Asked Questions on Shipping Container Insulation
Can I insulate a shipping container without building stud walls?
Yes. You can bond perforated pins directly to the metal shell with adhesive, then mount the insulation on the pins. It saves time and keeps your interior space.
How do I stop condensation in a container?
Use an insulation that doubles as a vapor barrier. SmartSHIELD stops warm interior air from sweating against the cold steel, which is what causes the moisture buildup.
How many pins do I need?
Plan for about one pin per 2 square feet of surface. Space them evenly across the walls and ceiling.
What if I want to frame the container with wood?
If you're adding wood framing, you don't need the pin method. Just staple SmartSHIELD to the framing the way you would in a standard wall retrofit.
Need Help Choosing?
Not sure how much you need or which product fits your container? Explore SmartSHIELD at Insulation MarketPlace, or call our team at (786) 202-0704 and we'll point you to the right fit. Every order ships free in 2 to 4 days.