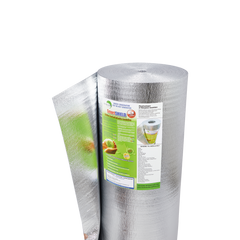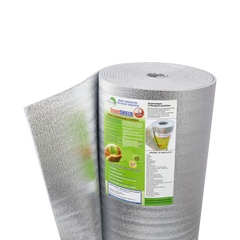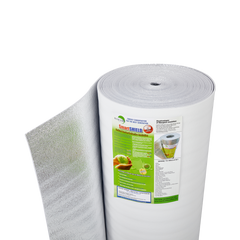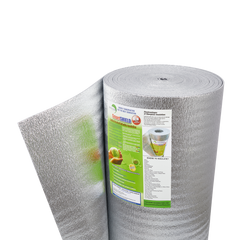


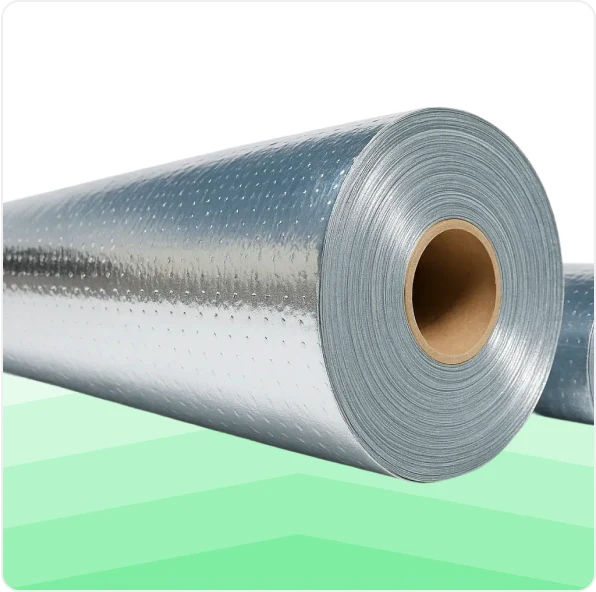


Concrete is great at soaking up heat and pulling it straight down into the ground, which is exactly why bare slabs feel so cold. Adding insulation under the slab fixes that. It creates a thermal break between your floor and the soil, keeps moisture out, and sends radiant heat back up where you want it. This guide walks you through the install step by step.
Products to use: SmartSHIELD 5MM White Film or Reflective White SmartBUBBLE. Both give you a reflective layer plus a moisture barrier in one roll, and they're light enough to handle solo on the job site.
Tools and Materials
- SmartSHIELD 5MM White Film or Reflective White SmartBUBBLE (measured to your slab area, plus extra to run up the walls)
- Under-concrete seam tape
- Utility knife and a straightedge
- Tape measure
- Wire mesh and your radiant tubing or cables (per your radiant design)
Before You Start
- Level and compact the soil or gravel base first. A flat, firm base keeps the insulation from shifting during the pour.
- Have your radiant design on hand so tubing spacing is set before you lay anything down.
- Plan your rolls so seams land where they're easy to overlap and tape.
Step-by-Step Installation for Radiant Heat In A Concrete Floor Insulation


Step 1: Prepare the base.
Level and compact the soil or gravel so you have a flat, stable surface to work on.
Step 2: Roll out the insulation, white side up.
Unroll SmartSHIELD 5MM White Film (or Reflective White SmartBUBBLE) across the full slab area, white side up. Keep it flat as you go.
Step 3: Overlap seams and run it up the walls.
Overlap each seam by 2 inches. Run the material about 6 inches up the perimeter walls for continuous, edge-to-edge coverage.
Step 4: Tape every seam.
Seal all overlaps and joints with under-concrete tape. This keeps moisture from seeping up through the seams.
Step 5: Install the mesh and radiant system.
Lay your wire mesh, then position your radiant tubing or cables per the manufacturer's recommendations.
Step 6: Pour the concrete.
Pour your slab right over the top. The insulation stays permanently underneath as a thermal break and vapor barrier.
Quick Tips
- Running the material 6 inches up the walls gives it a little room to shift during the pour. Once the floor sets, trim the excess flush with the finished floor.
- Keep the reflective layer clean and dry before you pour.
- This same method works great for driveways, radiant floors, and basement slabs.
Frequently Asked Questions
Does the insulation go under or over the radiant tubing?
Under. The insulation goes down first, then the mesh and tubing, then the concrete. That way heat reflects up into the room instead of down into the ground.
Do I need this if I'm not running radiant heat?
Yes, it still earns its place. Even without tubing, it acts as a thermal break and vapor barrier, so you get warmer floors and less condensation.
Can I use SmartBUBBLE instead of SmartSHIELD?
Yes. Reflective White SmartBUBBLE is a solid choice for the same job. Pick based on your thickness and budget needs.
Need Help Choosing?
Not sure how much you need or which product fits your slab? Explore SmartSHIELD and SmartBUBBLE at Insulation MarketPlace, or call our team at (786) 202-0704 and we'll point you to the right fit. Every order ships free in 2 to 4 days.