



A Quonset hut is a lightweight, prefabricated structure characterized by its semi-circular, arched design made from corrugated steel.
Originally developed during World War II by the United States Navy, Quonset huts were designed to be quickly assembled and versatile for various military needs, including barracks, storage, and workshops.
This guide covers how to insulate a Quonset hut with SmartSHIELD reflective insulation using the pin-and-cap method.
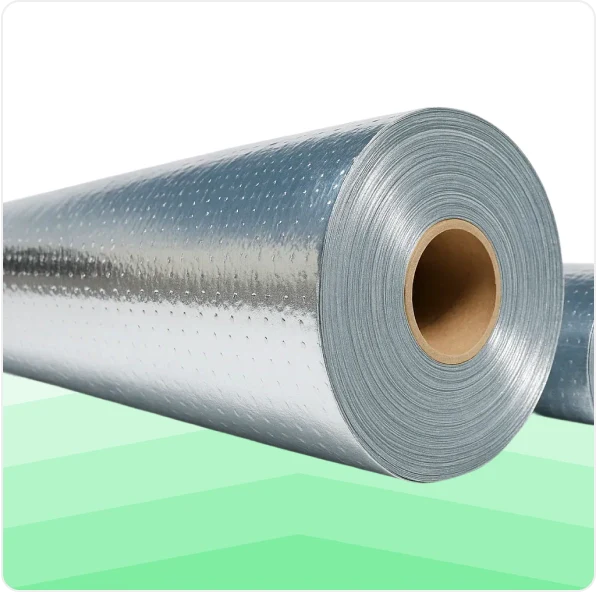
Because Quonset huts are built from curved steel panels, they need a radiant barrier, a vapor barrier, and insulation in one, and SmartSHIELD provides all three while conforming to the arch.
Recommended Products
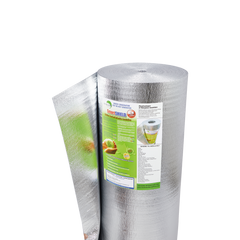
- Most popular choice: SmartSHIELD 10MM
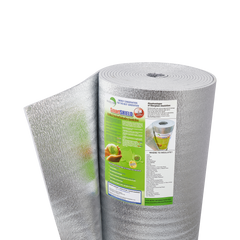
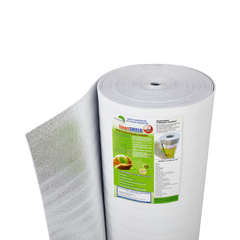
- Good 5mm options include: SmartSHIELD 5mm Reflective Insulation and SmartSHIELD 5mm White Insulation
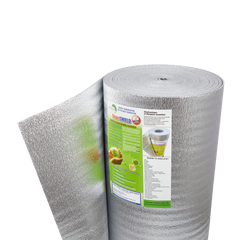
- Other options include Single SmartBUBBLE Insulation or Double SmartBUBBLE Insulation for lighter applications.
Equipment Checklist
Materials:
- SmartSHIELD reflective insulation: 10mm, 5mm, 1/4-inch (6mm), or 20mm.
- Perforated insulation pins with caps: For anchoring to the curved steel.
- Super metal sealant: Bonds the pins to the metal sheeting.
- SmartTAPE reflective foil tape: For sealing seams.
Tools:
- Utility knife
- Heat gun (for heat-welding SmartSHIELD 10mm seams)
How To Insulate A Quonset Hut
The pin-and-cap method works because it anchors the insulation directly to the curved steel without drilling, letting the SmartSHIELD follow the arch.

Step 1: Attach the Pins
Put a glob of liquid nail on the base of each pin. Press the base onto the metal sheeting. It's fine if the adhesive oozes through the holes in the base, that helps hold the pin to the metal. Smooth it out if you like.
Pin spacing:
- Walls: 1 pin per 2 square feet
- Roof area: 1 pin per square foot
- Ceiling area (the highest part of the arch): double the pins
Allow 24 hours for the sealant to cure. Cure time varies with temperature and humidity.
Step 2: Mount the Insulation
Push the SmartSHIELD onto the pins. Once a pin comes through the insulation, push a cap onto the pin and press it down to secure the material.
Step 3: Trim and Seal
Once the insulation is secured, snip the exposed end of each pin. Apply a small piece of tape over the cut tip so no one gets scratched. Seal all seams with SmartTAPE, or heat-weld the seams if you're using SmartSHIELD 10mm.

Quick Tips
- Double the pins at the peak of the arch. That's where insulation is most likely to sag under its own weight.
- Give the sealant a full 24 hours to cure before mounting insulation, or the pins may pull loose.
- Seal every seam with SmartTAPE to keep the vapor barrier continuous. This is what stops condensation on the steel.
- Tape the snipped pin tips so they don't catch skin or clothing.
Need Help Choosing?
Browse the SmartSHIELD collection or call us at (786) 202-0704 for sizing and contractor pricing.