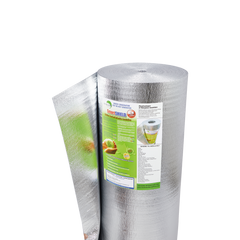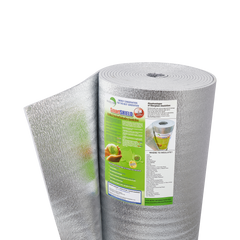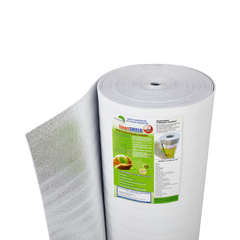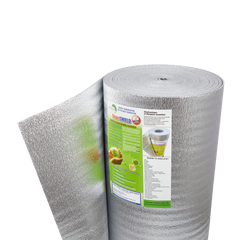


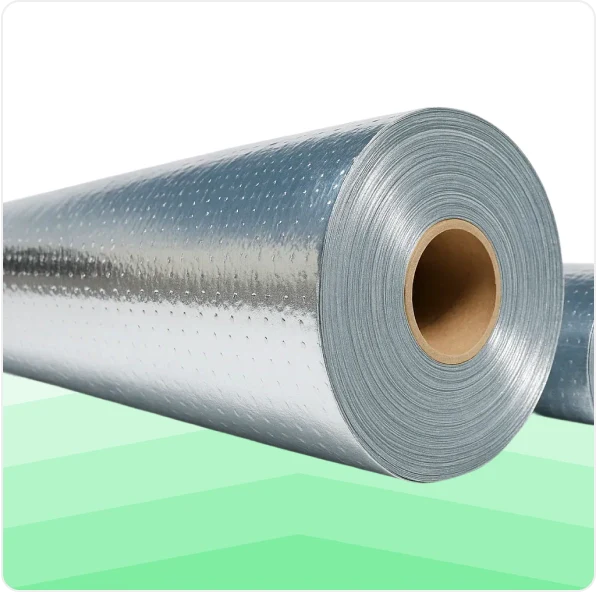


This guide covers six ways to install SmartSHIELD reflective insulation in a basement, from a single layer between studs to a full setup with furring and drywall. SmartSHIELD acts as insulation and vapor barrier in one, which matters in a below-grade space prone to moisture.
Equipment Checklist
Materials:
- SmartSHIELD 10MM, SmartSHIELD 5MM, SmartSHIELD 1/4 Inch, SmartSHIELD 20MM or the Single Bubble Reflective Insulation, Double Bubble Reflective Insulation
- SmartTAPE reflective foil tape: For sealing seams.
- Double-sided tape: For attaching SmartSHIELD to cement walls and temporary hold.
Tools:
- Utility knife
- Staple gun or screw gun
- Measuring tape
Before You Start
- Check for water intrusion, leaks, or active moisture. Fix any drainage issues before insulating.
- Confirm your stud spacing so you can pick the right roll width.
- Plan your air gap. Reflective insulation needs at least a 1 inch air space to perform.
Installation Methods
Method 1: Between Studs (Single Layer)

Best for: the simplest single-layer job on a framed basement wall.
- Staple or screw one layer of SmartSHIELD between the studs, sized to your stud spacing.
- Seal seams with SmartTAPE.
Method 2: Below Studs (Single Layer)

Best for: a quick continuous layer over a framed wall.
- Staple or screw SmartSHIELD to the room-facing side of the studs.
- Seal seams with SmartTAPE.
Method 3: Two Layers, One Between and One Below Studs

Best for: maximum thermal performance on a framed wall.
- Staple or screw one layer of SmartSHIELD between the studs.
- Staple or screw a larger roll (SmartSHIELD 10MM or SmartSHIELD 20MM) to the room-facing side of the studs.
- Seal all seams with SmartTAPE.
Method 4: One Layer Below Studs Plus Drywall

Best for: a finished basement wall with a single insulation layer.
- Staple, screw, or use double-sided tape to place SmartSHIELD on the room-facing side of the studs.
- Push the insulation into the cavity to create a 1 inch or more air gap.
- Attach drywall.
- Seal seams with SmartTAPE before drywalling.
Method 5: Direct on Cement Wall, Below Studs Plus Drywall

Best for: the fullest below-grade setup with a direct vapor barrier on the foundation.
- Use double-sided tape to attach SmartSHIELD directly to the cement wall.
- Seal seams with SmartTAPE.
- Staple, screw, or use double-sided tape to place a second layer of SmartSHIELD on the room-facing side of the studs.
- Push that layer into the cavity to create a 1 inch or more air gap.
- Attach drywall.
Method 6: Two Layers with Furring Strip and Drywall

Best for: the most complete setup for a finished basement.
- Staple or screw one layer of SmartSHIELD between the studs.
- Staple or screw a larger roll (SmartSHIELD 10MM or SmartSHIELD 20MM) to the room-facing side of the studs.
- Attach a 1 inch furring strip (lathe board) through the insulation into the stud.
- Attach drywall to the furring strips.
- Seal all seams with SmartTAPE.
Quick Tips
- Fix any water or drainage problems before you insulate. Insulation won't solve a leak.
- Always leave an air gap of at least 1 inch. Reflective insulation needs it to perform.
- Seal every seam with SmartTAPE.
- Adding drywall is no problem. SmartSHIELD compresses cleanly between the drywall and stud.
Need Help Choosing?
Browse the SmartSHIELD collection or call us at (786) 202-0704 for sizing and contractor pricing.