

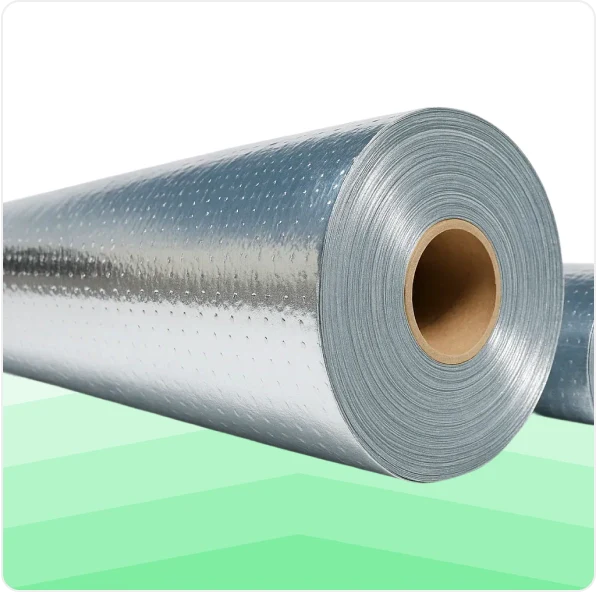


Equipment checklist: Reflective tape, utility knife and staples or screws - Refer to application.
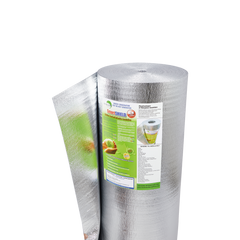
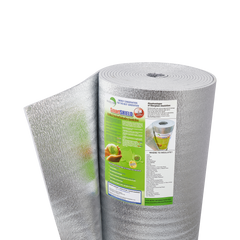
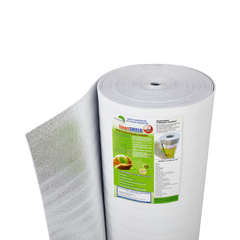
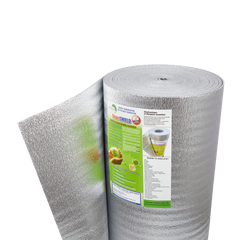
Recommended Insulation type: Any SmartSHIELD Insulation roll.
How To Insulate An Attic
This guide covers four scenarios for installing SmartSHIELD reflective insulation in an attic, from new construction to retrofit projects over existing insulation.
Equipment Checklist
Materials:
- SmartSHIELD reflective insulation: Choose the type that matches your scenario below.
- SmartTAPE reflective foil tape: For sealing seams.
Tools:
- Utility knife
- Staple gun or screw gun
- Measuring tape
Before You Start
-
Check existing insulation for moisture, mold, or pest damage. Fix any issues first.
-
Make sure soffit and ridge vents are clear. Don't block ventilation.
-
Seal gaps around light fixtures, pipes.
Installation Scenarios
Scenario 1: Attach to the Bottom of Rafters

Recommended SmartSHIELD: 48-inch or 72-inch roll.
-
Roll SmartSHIELD across the underside of the rafters, perpendicular to the rafter direction.
-
Staple every 3 feet along each rafter.
-
Seal seams with SmartTAPE.
-
Trim around obstructions with a utility knife.
Scenario 2: Install Between Rafters

For attics where you want to keep the space usable.
Recommended SmartSHIELD:16-inch or 24-inch roll to match rafter spacing.
-
Cut SmartSHIELD to fit between rafters.
-
Staple the edges to the sides of the rafters.
-
Leave a 2-inch air gap between SmartSHIELD and the roof sheathing.
-
Seal seams with SmartTAPE.
Scenario 3: Lay Over the Attic Floor
For attics that already have fiberglass or blown-in insulation on the floor.


Recommended product: SmartFOIL Perforated or SmartSHIELD 3mm, 5mm, 10mm or 20mm.
-
Roll SmartFOIL Perforated or SmartSHIELD over the existing insulation.
-
Overlap seams slightly to prevent gaps.
-
Staple every 3 feet to the joists where possible.
-
Seal seams with SmartTAPE.
Scenario 4: Install During New Construction (Before Sheathing)

For new builds with rafters or trusses exposed.
Recommended SmartSHIELD: Any SmartSHIELD reflective insulation roll.
-
Drape SmartSHIELD over the rafters or trusses, perpendicular to the framing.
-
Allow a 1 to 2 inch drop between rafters to create an air gap.
-
Seal seams with SmartTAPE.
-
Install the roof sheathing over the insulation.
Don't Forget the Attic Access
Attic hatches and pull-down stairs are major heat-loss points.
-
Cut SmartSHIELD to the size of the hatch or door.
-
Staple it to the back of the hatch.
-
Add foam weatherstripping around the opening.
For pull-down stairs, consider the SmartATTIC Attic Access Door Insulation Tent Kit.
Quick Tips
-
Never block soffit or ridge vents.
-
Always leave an air gap. Reflective insulation needs it to perform.
-
Seal every seam with SmartTAPE.
-
Don't skip the attic access point.
Need Help Choosing?
Browse the SmartSHIELD collection or call us at (786) 202-0704 for sizing and contractor pricing.