

Insulating a pop-up camper is one of the best upgrades you can make for year-round comfort, whether you're camping in the cold or trying to stay cool in peak summer heat. Because pop-up campers are often made of thin walls and flexible canvas, they tend to struggle with temperature regulation. Knowing how to insulate a pop-up camper properly can make your travel experience more enjoyable, efficient, and cost-effective.
Whether you're getting ready for a hot road trip or preparing for chilly nights in the mountains, adding the right insulation helps improve comfort, reduce condensation, and lower heating or cooling needs.
This guide will walk you through how to insulate a pop-up camper using proven materials, smart techniques, and a few DIY-friendly tools.
What you need to know before you insulate a pop-up camper
Pop-up campers are designed for convenience and portability, not insulation. Most have thin canvas walls, limited sealing around windows and doors, and little to no built-in thermal protection.
That means extreme heat during the day and rapid cooling at night. Without insulation, interior temperatures can fluctuate wildly, making sleep uncomfortable and energy usage inefficient.
To make insulation work in a pop-up camper, your materials need to be:
- Lightweight
- Moisture-resistant
- Easy to install and remove
- Flexible for canvas and odd-shaped spaces
A layered approach using reflective materials combined with padding or sealing is often the most effective strategy. And if you're researching insulation for a camper, this applies just as much to windows, walls, floors, and even soft roof sections.
Choosing the best materials for camper trailer insulation
Not all insulation works well in the compact and mobile environment of a pop-up camper. You want something lightweight, non-toxic, easy to cut, and resistant to moisture and mold.
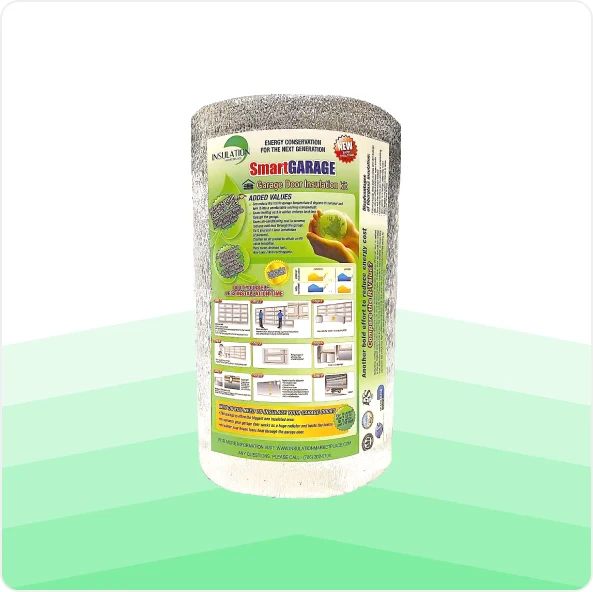
SmartSHIELD, SmartFOIL, and SmartBUBBLE are ideal choices for pop-up campers. These reflective insulation products are lightweight, easy to cut, and designed to reflect radiant heat away from your camper during hot weather, while also helping retain warmth in cooler conditions.
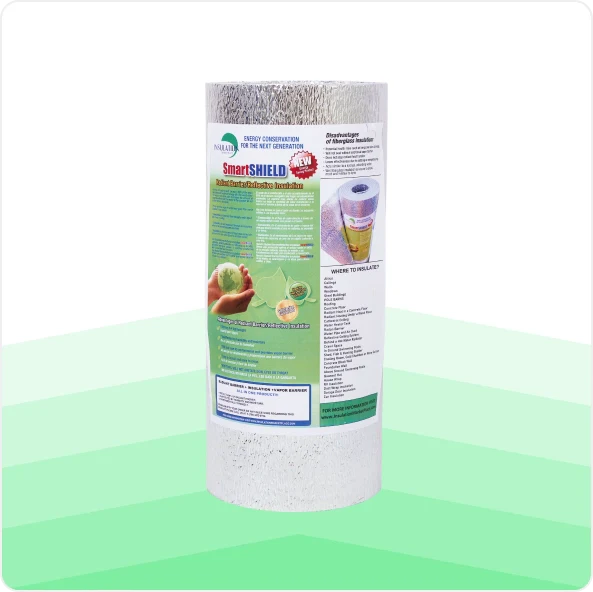
- SmartSHIELD combines a durable foam core with double-sided reflective foil. It adds both radiant protection and light thermal resistance, making it a great option for floors, walls, and under sleeping areas.
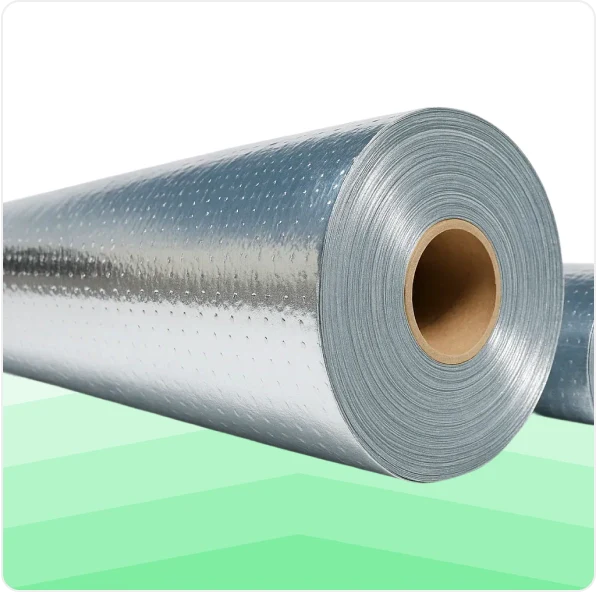
- SmartFOIL is a flexible radiant barrier designed to reflect up to 97 percent of radiant heat. It’s perfect for lining roofs, soft walls, or removable window panels.
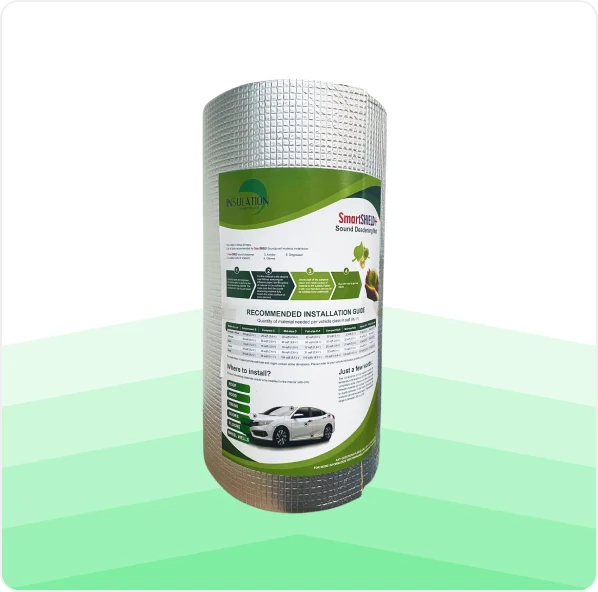
- SmartBUBBLE offers bubble-core insulation sandwiched between reflective foil layers, providing an air-buffered solution that’s great for canvas walls and interior panels.
All three options are DIY-friendly and moisture-resistant, making them well-suited for mobile spaces. Whether you’re insulating the entire camper or just focusing on key zones like windows and the roof, reflective insulation from Insulation MarketPlace is an efficient and practical solution.

Step-by-step guide on how to insulate a pop-up camper
Here’s a simple walkthrough on how to insulate a pop-up camper using reflective insulation materials and a few basic tools.
Step 1: Clean and prep your camper
Dust, dirt, and moisture can weaken adhesion or lead to mold. Wipe down all surfaces before you start applying any insulation.
Step 2: Measure and cut reflective insulation
Use a measuring tape and a sharp blade or scissors to size out SmartSHIELD or SmartFOIL panels. Custom-fit these to the interior roof, walls, and floor panels.
Step 3: Attach insulation securely
Use foil tape or low-residue adhesive to attach insulation to rigid areas. For canvas walls, consider Velcro or creating removable insulated curtains.
Step 4: Seal the gaps
Cover seams, corners, and joints using foil tape or weatherstripping. This step helps lock out hot air and prevent heat loss.
Step 5: Insulate your windows
This is crucial. For insulating camper windows, use cut-to-fit foil panels or reflective bubble insulation. These block heat during the day and retain warmth at night.
Knowing how to insulate a pop-up camper also means thinking through comfort in every direction: walls, roof, floor, and glass.
How to keep a pop-up camper cool in summer
If you’ve ever camped in direct sun, you know just how hot a pop-up camper can get. The key to staying comfortable is blocking heat before it gets in. That’s why radiant barrier insulation is such a game-changer. It reflects heat off the surface of your camper rather than letting it absorb into the walls or roof.
Here are some tips on how to keep a pop-up camper cool in the hottest months:
- Line the ceiling with radiant barrier insulation
- Add reflective covers to windows and roof hatches
- Use reflective window inserts during the day
- Install a small fan or roof vent to help with air circulation
- Shade the camper with a canopy or park under trees when possible
By following these upgrades, your camper will stay significantly cooler inside, even during high heat hours.
Maintain and upgrade your pop-up camper insulation easily
Pop-up campers go through a lot: sun, wind, moisture, and regular folding or packing. Luckily, maintaining insulation is simple when you choose the right materials.
Here’s how to keep your setup working at its best:
- Check seams and adhesives at the start of each season
- Replace or reseal any loose insulation
- Keep removable panels flat and dry when stored
- Use lightweight rolls like SmartSHIELD for easy patching
Since reflective insulation like SmartSHIELD is reusable and flexible, upgrades and touch-ups are easy. You can also apply similar materials to floors, storage bins, or pop-out sections as needed.
Learning how to insulate a pop-up camper doesn’t have to be complicated. With the right tools, a weekend of work, and a few rolls of reflective insulation, you’ll have a cooler, cozier camper ready for any adventure. Check out our reflective insulation options built for campers and RVs.


