


Metal roofing is also still a popular option among the owners of houses because of its durability over the long term, energy efficiency, and modern beauty. However, despite the strongest roofing material in question, there is also a continuous problem, which is heat. Hot summer months also cause metal surfaces to absorb the sunlight and pass that heat into your attic, causing stuffy indoor air, high cooling expenses, and additional strain on your air conditioner.
A radiant barrier under metal roof is designed to help. This reflective material works as a shield to reflect heat back outside before it can enter your home. The outcome is a colder and more comfortable house and reduced cooling costs.
In this article, we’ll take you on a journey through everything, from picking the right materials to step-by-step installation and easy maintenance tips.
How Radiant Barriers Work & What’s the Benefit of Installing One?
To know the reasons for the efficiency of radiant barriers, let's start with the heat movement. Heat is transferred in three different forms:
- conduction (through solid materials)
- convection (through air movement)
- radiation (through electromagnetic waves)
Metal roofs mainly transfer heat through radiation, which quickly warms attic spaces below.
A radiant barrier under metal roof acts like a mirror. The insulation material has an amazing 95% thermal reflectivity that captures and reflects incoming radiant heat in the attic. Accordingly, indoor and attic temperatures are controlled, therefore also reducing the burden on air-conditioning systems and energy costs.
To have good results, the reflective side has to face the air space. This modest modification can significantly enhance its heat‑deflecting capability. With the proper ventilation of the attic, you’ll regain your home comfort and reduce utility bills.
Get more comfort and savings for less. Shop our SmartFOIL Radiant Barrier collection for high-performance reflective insulation at factory-direct prices.
What You’ll Need for Installation
What is the trick to a hassle-free installation? The secret is to get ready first. The preparation process will allow you to do the job quicker, safer, and with less frustration.
Material checklist:
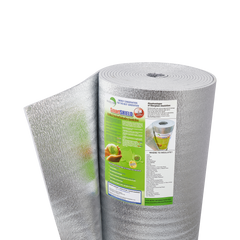
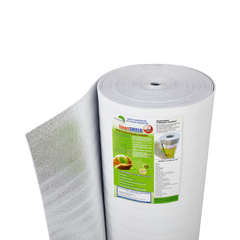
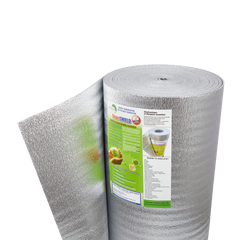
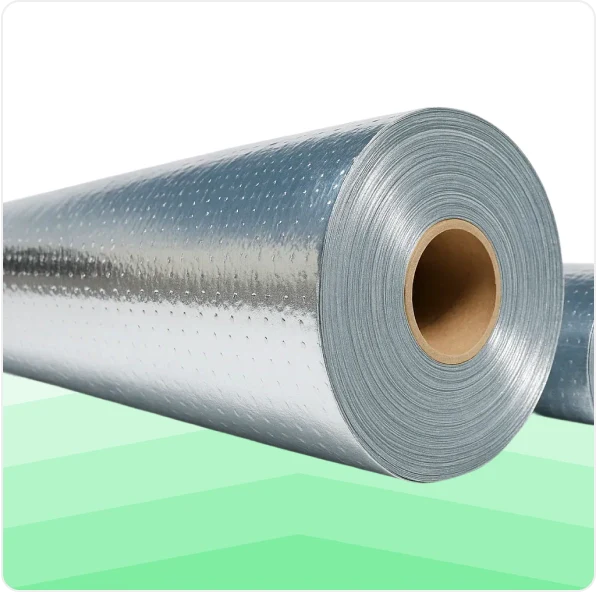
- Radiant barrier rolls like SmartFOIL Perforated or SmartFOIL Solid
- Tape or staples to secure the barrier
- Scissors or a utility knife for cutting the foil
- Safety gloves, protective glasses, and a stable ladder
Choose the right product:
- SmartFOIL Perforated Radiant Barrier is designed for ventilated roofs and attics. It has micro-holes that enable the passage of moisture, preventing condensation and consequent mold development.

- SmartFOIL Solid Radiant Barrier is the better call if you’re working in a humid or confined area. It’s more durable, offers complete moisture lockout, and reflects a significant amount of heat.

These two products prevent nearly 95% of radiant heat, thus maintaining a comfortable temperature throughout the year in your house and reducing your electricity bill significantly.
Step-by-Step Installation Guide
Here's how to get the best reflective performance of radiant barrier under metal roof step by step.
Step 1. Preparation
- Look for any leaks or weak areas and repair them before beginning.
- Remove dirt and dust to ensure the radiant barrier sticks properly.
- Measure and cut panels to fit perfectly in the rafter space.

Step 2. Installing the Barrier
New Roofs
- Unroll the barrier evenly, and then place your metal panels directly on top of it.
- Overlap the sheets side-to-side or up-and-down by 2-3 inches at the edges to avoid gaps.
- Staples or tape reflective tape along the rafters to secure the insulation.
- Leave enough space (around ¾ inch) between the foil and the roof deck to strengthen its heat-bouncing feature
Existing Roofs or Retrofits
- Place the radiant barrier on the lower part of the roof rafters in the attic.
- Face the reflective surface downward, towards the attic area, to reflect off the heat.
- Don’t press or flatten the foil; the air space is required to make the foil perform best.

Step 3. Ventilation Tips
- Combine with ridge and soffit vents to ensure steady airflow
- Ensure adequate ventilation to prevent trapped heat or moisture.

Step 4. Safety Considerations
- Work on cool, dry days.
- Wear gloves, long sleeves, and protective glasses.
- Always use a secure ladder or platform, especially in tight attic spaces.

Common Mistakes to Avoid
Top-quality materials are necessary, but the details are also very important factors. Here are some mistakes that can cause your radiant barrier problems and their respective solutions.
-
Skipping the air gap:
Laying the barrier flat against the roof deck eliminates its reflectivity. Always leave a small air gap for best results.
-
Using the wrong type of barrier:
A solid foil can potentially trap moisture. Therefore, use SmartFOIL Perforated Barrier to excellently keep air circulating and heat reflecting.
-
Poor overlap or gaps:
Prevent heat loss by overlapping each sheet a few inches and securely sealing the seams to ensure complete cover.
-
Neglecting ventilation or sealing:
Make sure nothing’s blocking your vents; good airflow keeps heat and moisture from piling up.
Pro tip: SmartFOIL Solid and Perforated Radiant Barriers are long-term solutions. They boast strong seams, sturdy materials, and an easy installation that allows secure protection that will last.
Maintenance and Long-Term Benefits
Once the radiant barrier under metal roof is in place, very little maintenance is needed, but periodic care will produce considerable rewards:
- Look for any sagging, small tears, or loose sections and fix them if needed
- Make sure attic vents are clear and open so air can flow freely
Many homeowners report a 10-20°F reduction in attic temperature after installing a radiant barrier. That translates into:
- Lower cooling costs
- Less strain on HVAC systems
- A longer roof lifespan
A small upfront cost means long-term comfort. Your radiant barrier under metal roof not only eliminates heat but also brings in continuous savings.
Upgrade Your Roof With SmartFOIL Radiant Barrier
Installing a radiant barrier under metal roof is a very effective way to make modifications that have a significant impact. It is a budget-friendly method to prolong the roof's life, save cooling costs, and preserve comfort all year round.
A cooler attic results in lower energy expenses, a happy HVAC system, and a cooler home. Getting these advantages is simple, effective, and long-lasting with Insulation MarketPlace's SmartFOIL Radiant Barriers.
Shop and start saving today.